
Hiking boots are your transportation to amazing places. They keep your feet happy and protected from sharp rocks, brambles and cold mud. With feet that feel good, you’ll be able to hike farther and faster with less time to recover.
Boots that don’t fit right can cause blisters and hotspots that make hiking downright awful.
Having boots that fit properly and tying those boots well are the 2 most important parts to a blister-free hiking experience with happy feet. Here’s how to tie those boots.
How to tie hiking boots
Prevent blisters and hot spots by tying your hiking boots with these steps:
- Buy hiking boots that fit
- Lace the bottom firm but comfortable
- Tie a Surgeon’s knot before the hooks
- Tie a Heel Lock between the hooks
- Adjust lacing around hotspots with Window Lacing
Basic Tie
Tying hiking boot laces is just like tying shoe laces, with a couple added hooks at the top.
Starting from the bottom, pull each lace comfortably tight.
When you get to the hooks at the top, cross the laces, and hook them around the next hook and then cross again. When you’ve run out of hooks tie the laces into a bow.
I always double knot my laces so I don’t have to tie them up again. Some hiking boot laces don’t stay tied in a single knot for long.
The goal for lacing hiking boots
At the end of the day, you need your foot to stay comfortably in one place without any pain. If it’s tied too tight, it will hurt.
Your feet moving in your boots can cause blisters. Your heel can slide up and down creating friction and a blister. Sliding left and right can cause blisters on your toes. Your feet sliding forwards and backwards going downhill will bash your toes into the end of the boot every step.
If your heel is still moving after lacing, try the Heel Lock in the next section.
If your you have a hotspot on the top of your foot somewhere, try Window Lacing in the section after.
Stop your heel from slipping with a Heel Lock
Blisters can absolutely ruin a hike. One moment you’re taking in the sight of a massive cascading set of waterfalls falling from snowcapped peaks. And then you’re reminded that every step back to the trailhead is going to be step by step blister purgatory. It’s like drip torture by hiking boot.
You might actually be on a walk in a park but with blisters it’s anything but.
Blisters from your heel moving
99 percent of the time my blisters have been from my foot moving too much in my boot. It slides around in there and creates friction and then a blister. This most often happens at the heel. Walking puts a lot of stress on your heel. It wants to slide up and down as you step. This little movement over 20 thousand steps on a hike can literally burn a hole in your foot.
You might have ill-fitting boots
One of the reasons for blisters is boots not fitting right. Your foot may not be the right size for your boot or those boots are built for a different shape of foot. Every company builds their boots a little differently. Some narrow, some wider. Try as many of them on as you can to see what they feel like. Think Cinderella or the three bears and try on as many as you can to see what’s closest.
Try to find the best match for the width and height and not just the length of the boot.
Boot fits well but my heel is still moving
You might have to tweak your boot a little bit more to keep your heel from moving around. Traditional lacing is tying the laces from side to side all the way up your boot. This is how we always see shoes and boots tied.
The problem with this method is that it distributes the tension all the way up the boot. Those laces are the same tightness at your toes, ankle and at the top at your shin. You can’t tighten your toes more than your ankle. For some people this is great. But you’re not reading this because your feet feel great after a hike. Your heel is moving and you want to fix it.
What we want to do is tie those boots tightly but have different tension at different points on your boot. Your toes might be happy but your heel is slipping so those laces aren’t tight enough. But don’t tighten the entire thing to death and make sore spots elsewhere. You need a Heel Lock.
What is a Heel Lock?
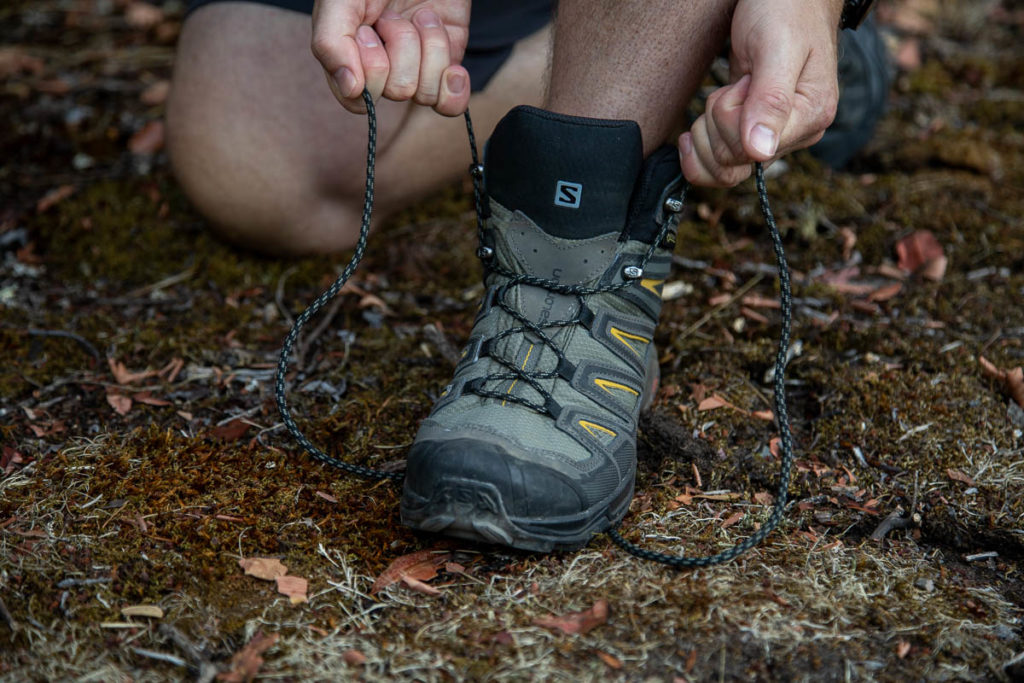
With the Heel Lock, we’re going to lace up the bottom of the boot and then change the lacing at your ankle where it starts to go up your leg. Usually the eyelets on hiking boots change to open hooks at this point instead of D-rings or holes. They’re sometimes called the speed lacing system. We’ll change the lacing here so we can tighten this area at your ankle to stop your heel from moving. No movement in the heel should mean no blisters.
How do you tie a Heel Lock?
Lace up your boots like you normally would along the top of your foot. We’ll put the Heel Lock in when you get to the ankle, the part where the boot starts to go up your leg.
- Tie the bottom normally
- Tie a Surgeon’s Knot at the bottom of your shin
- Tie a Heel Lock in the hooks.
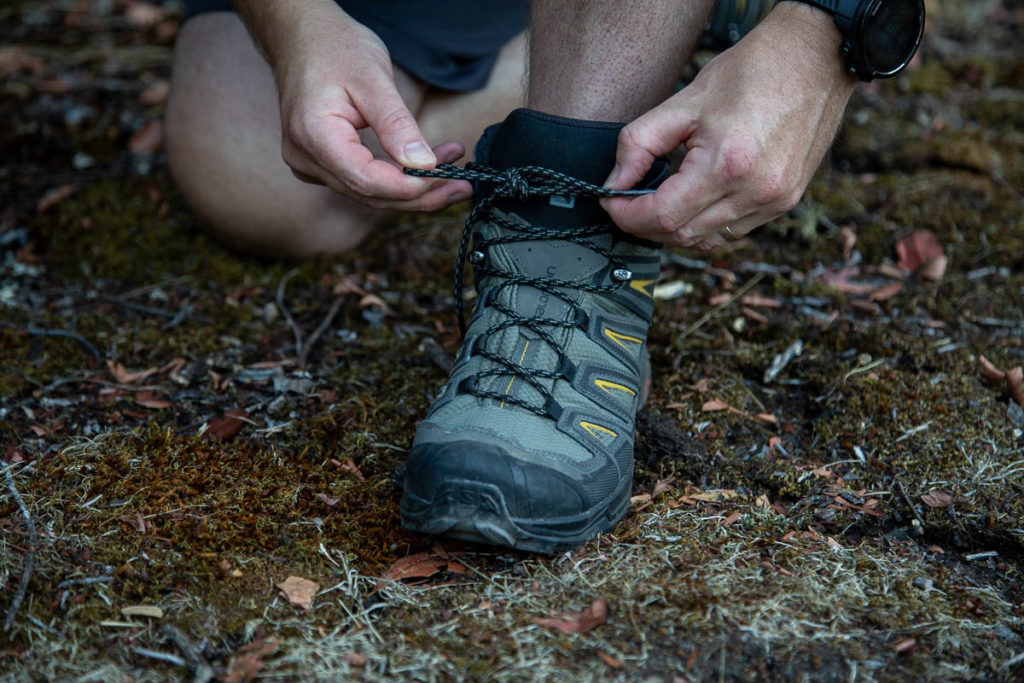
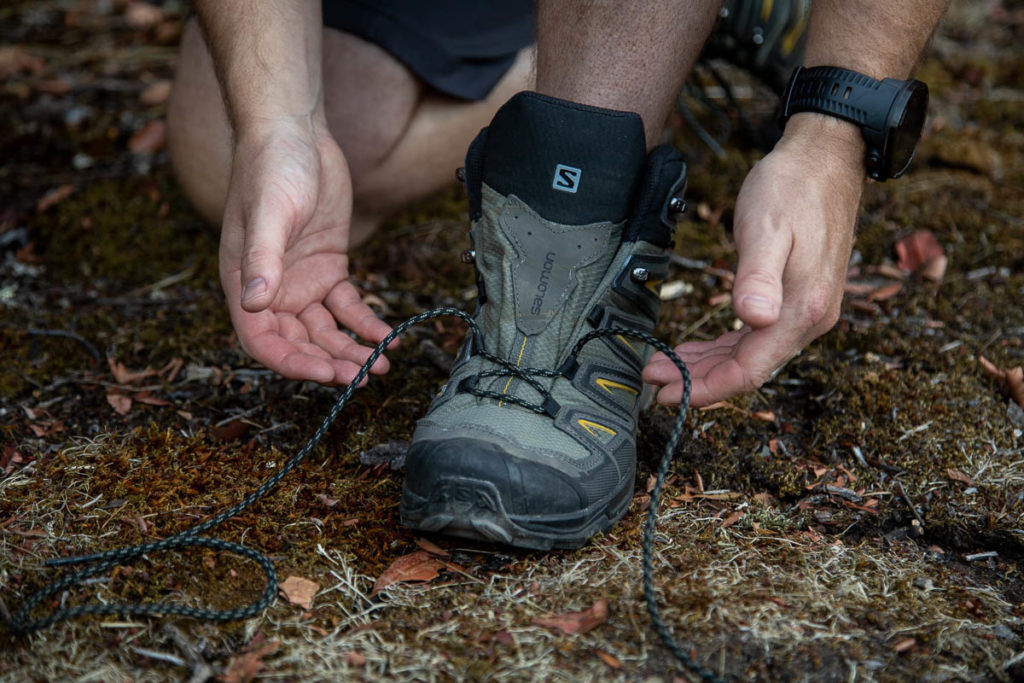
Tie a Surgeon’s Knot before the Heel Lock
To start, we’ll lock things off with a Surgeon’s Knot before we get into the heel lock. The Surgeon’s Knot is a simple overhand knot but go around twice.
Put this in at the top of the normal d-rings or eyelet holes, but before the lace hooks. This will hold things in place on the bottom of your boot while you tie the top and keep the tension set at the bottom. From the Surgeon’s knot, hook your lace around the first open hook.
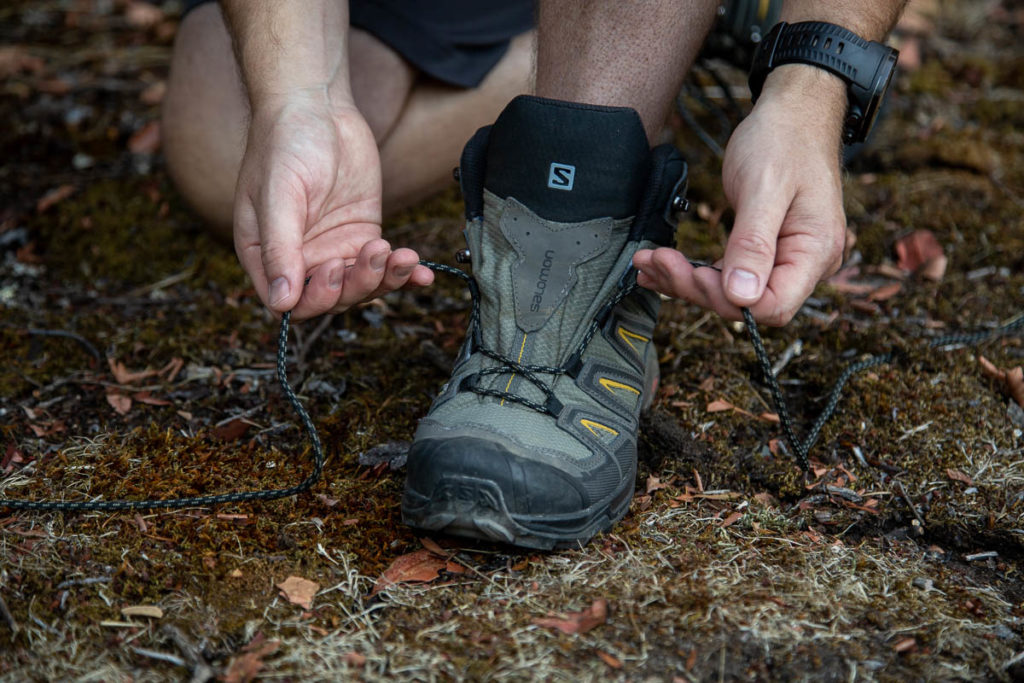
After you loop the lace around the first open hook going up your leg, don’t go across to the next hook on the other side, instead go straight up to the next hook on the same side.
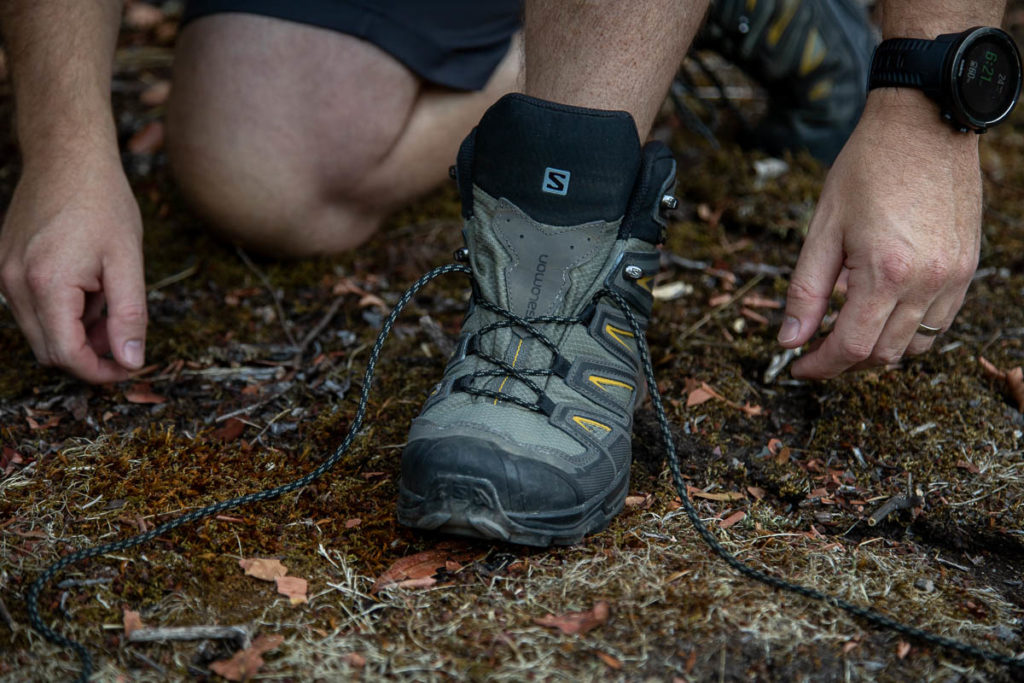
After going straight up to the second hook, cross the lace over the boot and put it under the vertical lace on the other side. This part takes some practice. Check out the photos
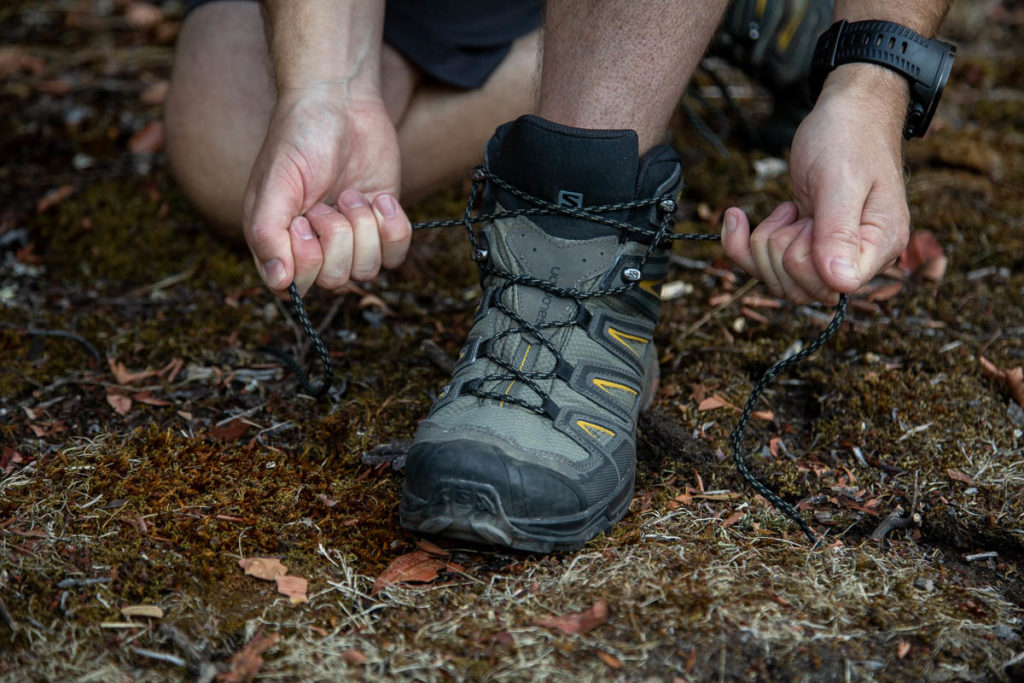
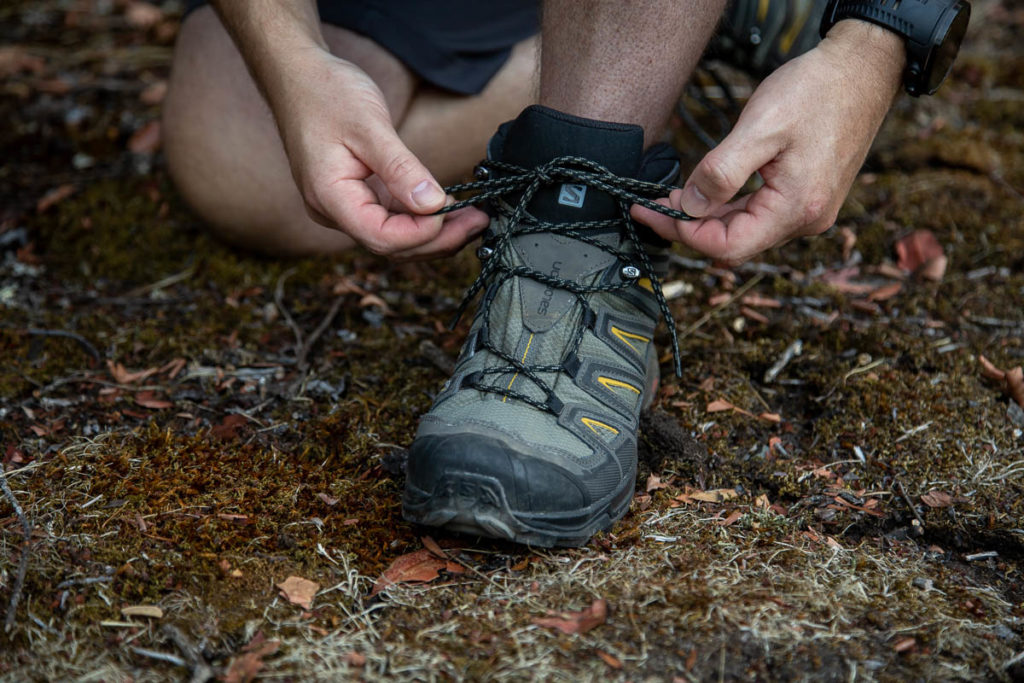
Once you’ve laced through the vertical part you can pull it tight. You’ll need to adjust the laces by pulling out to the sides to take up the slack. And then pull down towards your toes for a final tighten.
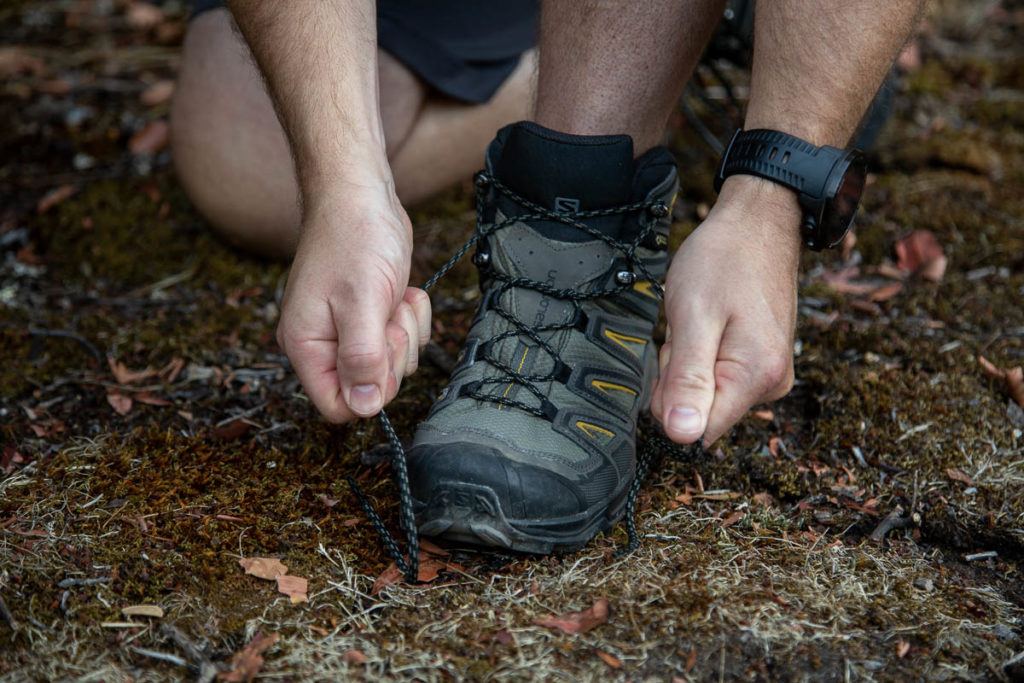
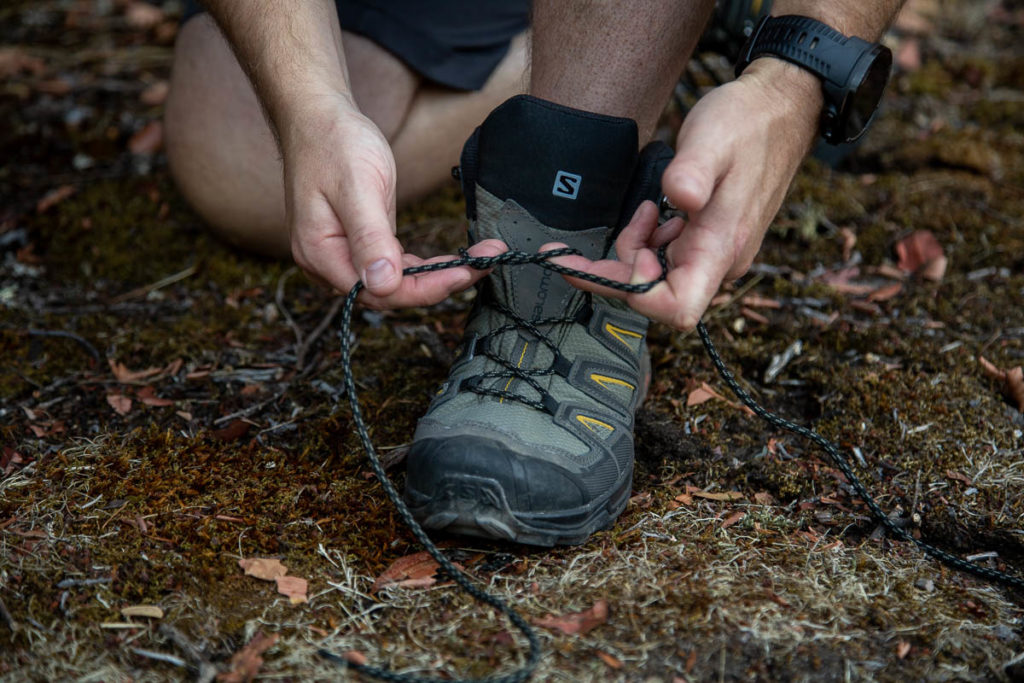
If you have more hooks to go around, loop around those, then finish with your bow. If you only have 2 hooks and have gone around both for the Heel Lock then you can tie your boot tightly and you are done.
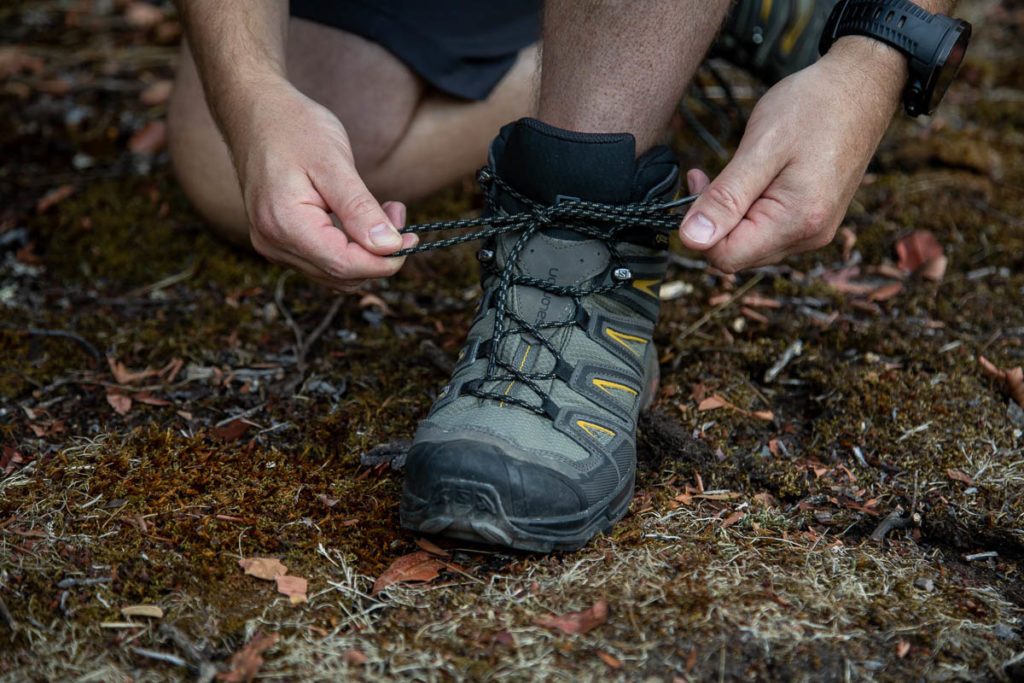
You can also move the vertical part of the Heel Lock up to the highest 2 hooks on the boot. This might move the lock up and away from your heel which is the part you are trying to lock in place. Sometimes it works. This might be a better spot to tie the Heel Lock if you are just wanting to stabilize your ankle. Experiment with the location that works best for you.
Heel Lock lacing on Low Cut Shoes
You don’t need high cut hiking boots to be able to use the Heel Lock. Runner’s often use it to keep their heels in place in running shoes. Use the same idea of lacing straight up between the last 2 lace holes and then crossing the lace underneath the vertical part. Start this at the last 2 holes on a low cut shoe.
You still have to buy boots that fit
Heel Lock lacing isn’t an easy-out for fixing boots that don’t fit. You can only go so far adjusting with the Heel Lock, Window Lacing and Surgeon’s Knot. Get the best possible fit when you buy your boots and then you can tweak using different lacing techniques.
From here if you still have hotspots on the top of your foot, we can adjust with Window Lacing.
Lace around hot spots with Window Lacing
“Tie them really tight,” they say.
“But that hurts right there,” you say.
“But it needs to be tight,” they say.
Have you had this conversation while trying to tie your hiking boots? You might have high arches or sore spots on the tops of your feet. Traditional hiking boot lacing crosses back and forth over those spots and just pulling tighter isn’t going to help get comfortable.
But if you don’t pull your laces tight, then your foot is going to move and you’ll get blisters. But if you tie them too tight, then your foot will get sore and maybe fall asleep. Hmm, problem. Better stay at home on the couch right?
Definitely not! We can fix this.
Try Window Lacing.
What is Window Lacing?
Sorry, these aren’t renovations for your feet for more space or a better fit. They don’t give you a better floor plan in your house or more energy efficiency.
Window Lacing is a way to lace your boots around sore spots or high arches.
Instead of the standard criss-cross method of lacing, you can lace your boots to go around certain spots instead of over them, eliminating the pressure from the lace in that spot.
This is useful when you’ve got high arches that get sore or just a hot spot on the top of your foot.
How to use Window Lacing
To tie some windows into your laces you can skip one of the crosses that you’d normally do.
Pull your boot laces out of all the d-rings or eyelets down to where you want to start skipping an area of your foot. Lace normally up until that point. To skip an area, run the laces straight up to the next eyelet, not crossing over the centre of the boot.
Lacing straight between 2 eyelets instead of crossing back and forth creates a box or window in your laces and leaves a gap. Without a lace pressing down in that spot it will let off the pressure and hopefully resolve the pain.
That’s all there is to window lacing.

Surgeon’s Knot Modification
To change things up a bit you can add a Surgeon’s Knot to the mix.
If you have your window high on your boot, you might want to put in a Surgeon’s Knot below the window so you can tighten the bottom laces and lock things in. Above the Surgeon’s Knot, you’d put in your window and then go on lacing.
I prefer to do the cross lacing, put in your window and then just above your window, put in a Surgeon’s Knot. This will lock things into place around the window and give you the freedom to tie your laces how you want above the Surgeon’s Knot.
5 other tips for perfect hiking boot fit
Heat moldable insoles customize the insole shape
Sometimes you get a boot and the shape of the boot is perfect but the arch support is a little low, or the insole is a touch too thin. Chuck a heat moldable insert in there to add arch support or take up that extra volume.
Heat moldable hiking boots
Ski-boot maker Tecnica took their experience heat molding ski-boot inserts and applied that too hiking boots. They created the Forge, the first heat moldable hiking boot. The insoles and the boot are heated and compressed to your feet creating a custom fit. See our full review of the Forge heat moldable hiking boot.
Wicking socks pull moisture off your skin
Moisture almost always has something to do with blisters. Sweaty feet rubbing on your boots isn’t going to end well. Merino wool and polypropylene socks will help suck the moisture of your feet so they don’t slip. Smartwool and Icebreaker merino wool socks are our favourites.
Different boots
If you’ve tried everything it might just be time to get a new pair of boots. Every company makes their hiking boots slightly differently with different molds. Even different boots from the same company or the same boots from different years will have slightly different shapes.
The best way to fit boots is to head your local outdoor store like Valhalla Pure Outfitters, MEC, or REI and get a knowledgeable person to fit you into a good pair of boots.
Wear them around the store for as long as you can, preferably with a bit of weight on your back if you are going to backpack with them. Wear them inside at home to keep them clean, do some stairs, walk on a treadmill for a while to see if they are really a good fit. Keeping them clean in the house, you should be able to return them if they don’t quite fit.
Don’t wear hiking boots at all
A growing number of hikers aren’t hiking in hiking boots at all. Trail runners and hiking shoes are sturdy shoes with plenty of grip that are lighter and more flexible than hiking boots. They can be just as durable and waterproof as hiking boots. And can be cheaper too.
Keep in mind they won’t be waterproof as far up your leg because they don’t go above your ankle. They also won’t have that ankle support on rough terrain that a taller boot will have.
Altra and Salomon make our favourite trail runners for hiking.
Don’t accept sore feet
There is a way! It might be after hiking with 5 pairs of boots, 6 different insoles, 3 different socks and 2 different ways to tie your boots.
There is always a perfect setup for every foot. Hopefully yours doesn’t take years to find. Lacing your boots differently is a great way to adjust your boot fit specifically to your foot.
Hiking should be about the adventure, not how much your feet hurt.
Hi Ross . When you tie the bow in your laces make a square knot . They shouldn’t come undone , even round laces .
Thanks Daryl. Appreciate the tip. Going to check into that square knot.